Layers
Layers organize features on the map into logical groups. Each layer can contain multiple features and can be shown or hidden independently. Use layers to separate different types of facilities, reference data, or background information within a project.
Prerequisites
- You must have an open project (see Projects)
- You must have the ProjectUser role or higher to create and modify layers
Layer types
When creating a layer, select a type:
- QD Visible — features on this layer are included in quantity-distance (QD) analysis calculations
- Background Layer — features on this layer are for reference only and are not included in analysis
How to add a layer
-
In the Feature Layers sidebar, click the + (add) button
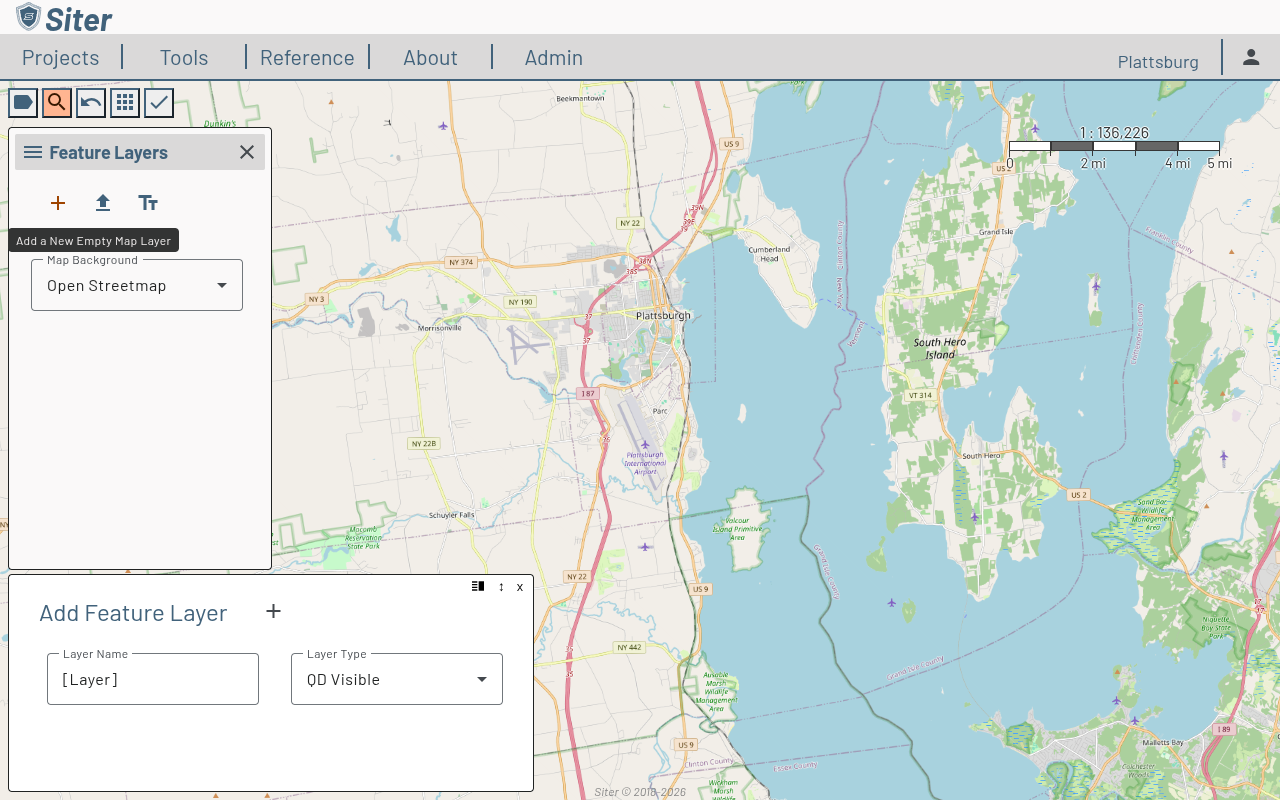
-
Enter a Layer Name
-
Select a Layer Type (QD Visible or Background Layer)
-
Click the + button next to the layer title to add it
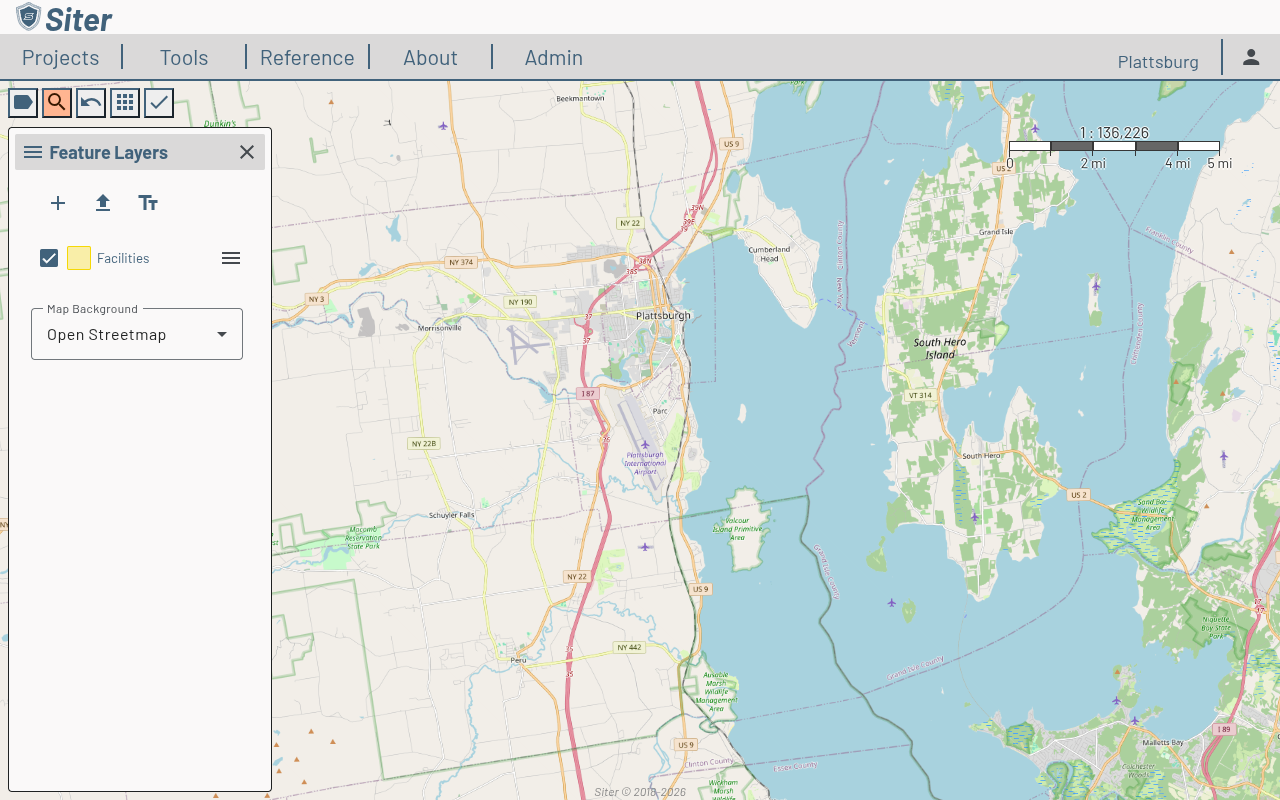
The new layer appears in the Feature Layers sidebar.
How to toggle layer visibility
Each layer in the sidebar has a checkbox next to its name. Uncheck a layer to hide its features on the map. Check it again to make them visible.
How to manage a layer
Click the menu icon (three horizontal lines) next to a layer name to access layer options:

- Sort — reorder features within the layer
- Export — export the layer data to an external file
- Rename Layer — change the layer name
- Remove Layer — delete the layer and all its features from the project
Removing a layer permanently deletes all features on that layer. This action cannot be undone.
How to import a layer
- In the Feature Layers sidebar, click the upload icon (arrow pointing up)
- Select a file to import (supported formats include shapefiles and GeoJSON)
- Configure import settings and confirm
You can also import layers from the toolbar Apps menu by selecting Import.
Related features
- Map view — navigate and interact with the project map
- Features — add and edit features within a layer
- Importing and exporting — detailed import and export options