Projects
Projects are the primary organizational unit in Siter. Each project represents a site or installation that you want to evaluate, containing its own map data, layers, features, and analysis results. Use projects to manage separate evaluations independently.
Prerequisites
- You must be signed in to Siter
- You must have the ProjectReader role or higher to view projects
- You must have the ProjectUser role or higher to create and edit projects
How to create a project
-
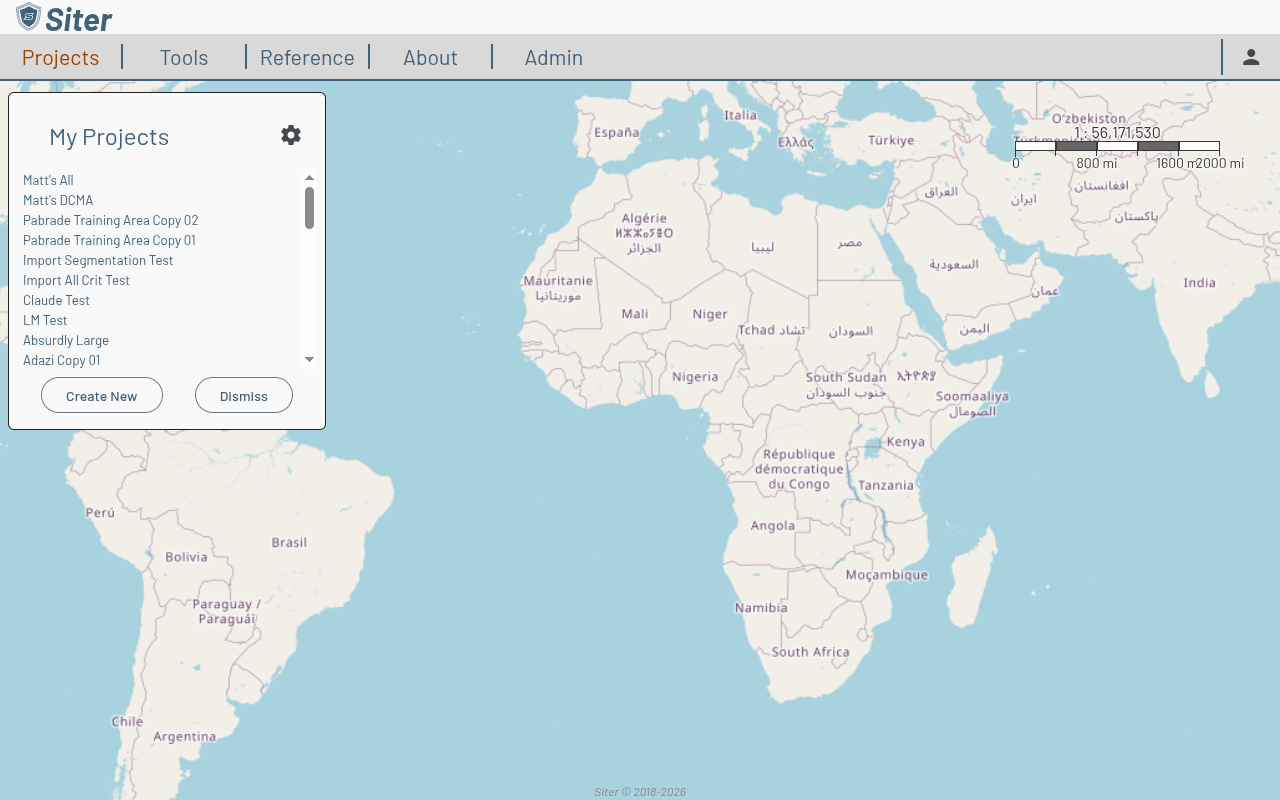
Click Projects in the top navigation bar
-
In the My Projects panel, click Create New
-
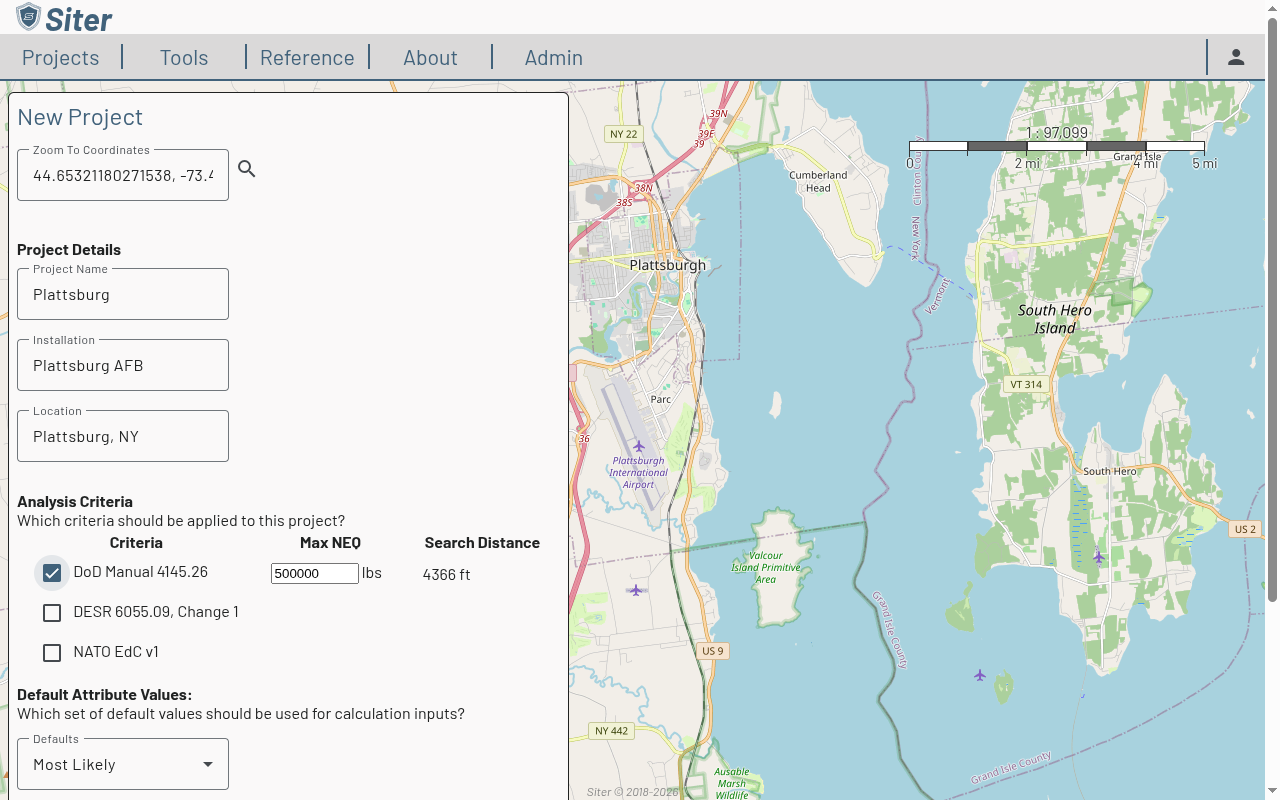
Enter coordinates in the Zoom To Coordinates field and click the search icon to center the map on your site
-
Fill in the project details:
- Project Name — a descriptive name for the project
- Installation — the installation or base name
- Location — city and state or country
-
Under Analysis Criteria, select one or more criteria standards to apply (e.g., DoD Manual 4145.26, DESR 6055.09, NATO EdC v1). For each selected criteria, set the Max NEQ (maximum net explosive quantity expected)
-
Select the Default Attribute Values and Map Background as needed
-
Choose a Spatial Reference — use Local UTM unless you have existing map data with a specific coordinate system
-
Click Create
Siter opens the new project in the map workspace automatically.
How to open a project
-
Click Projects in the top navigation bar
-
Click a project name in the My Projects panel to open it
-
Click Dismiss to close the panel and continue working in the currently loaded project
How to view project details
-
Open a project
-
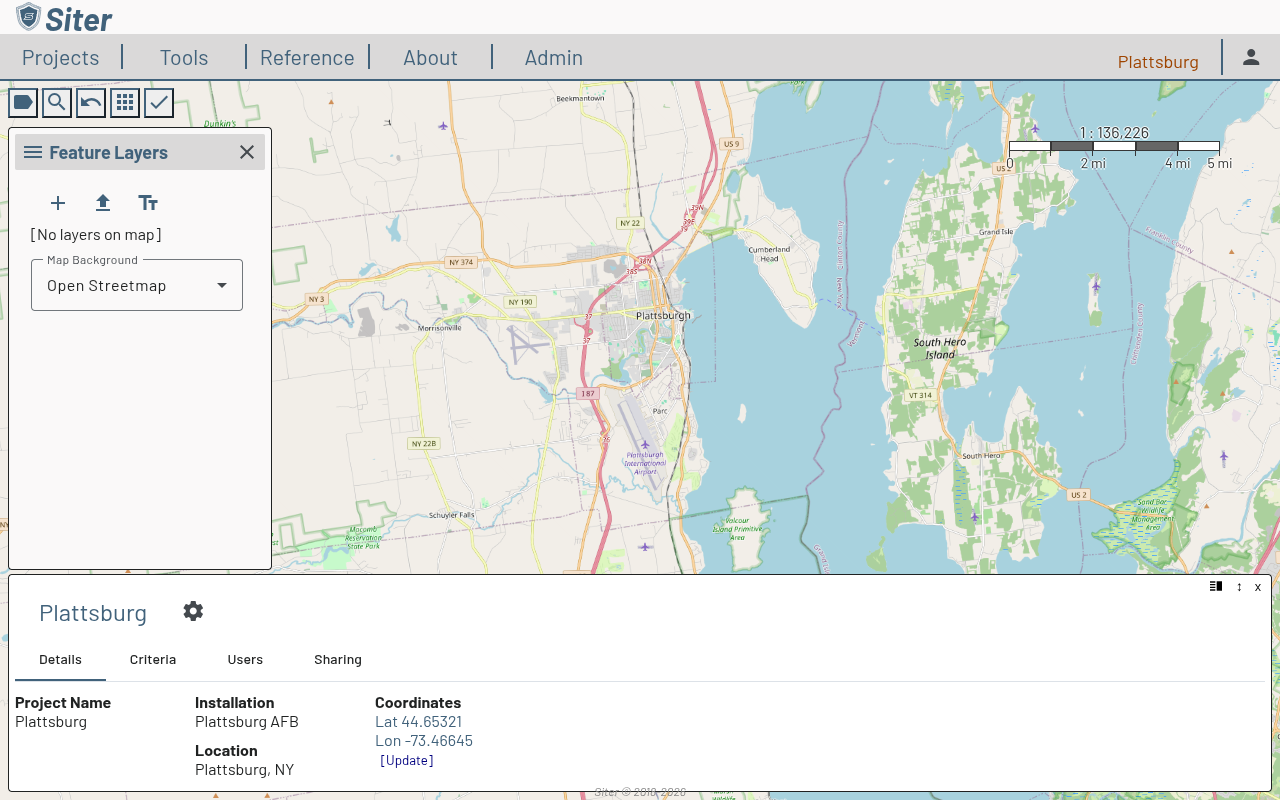
Click the project name in the upper-right corner of the toolbar
-
The project dashboard opens at the bottom of the screen with four tabs:
- Details — project name, installation, location, and coordinates
- Criteria — the analysis criteria applied to the project
- Users — team members and their roles
- Sharing — share tokens and access requests
How to edit a project
-
Open the project dashboard by clicking the project name
-
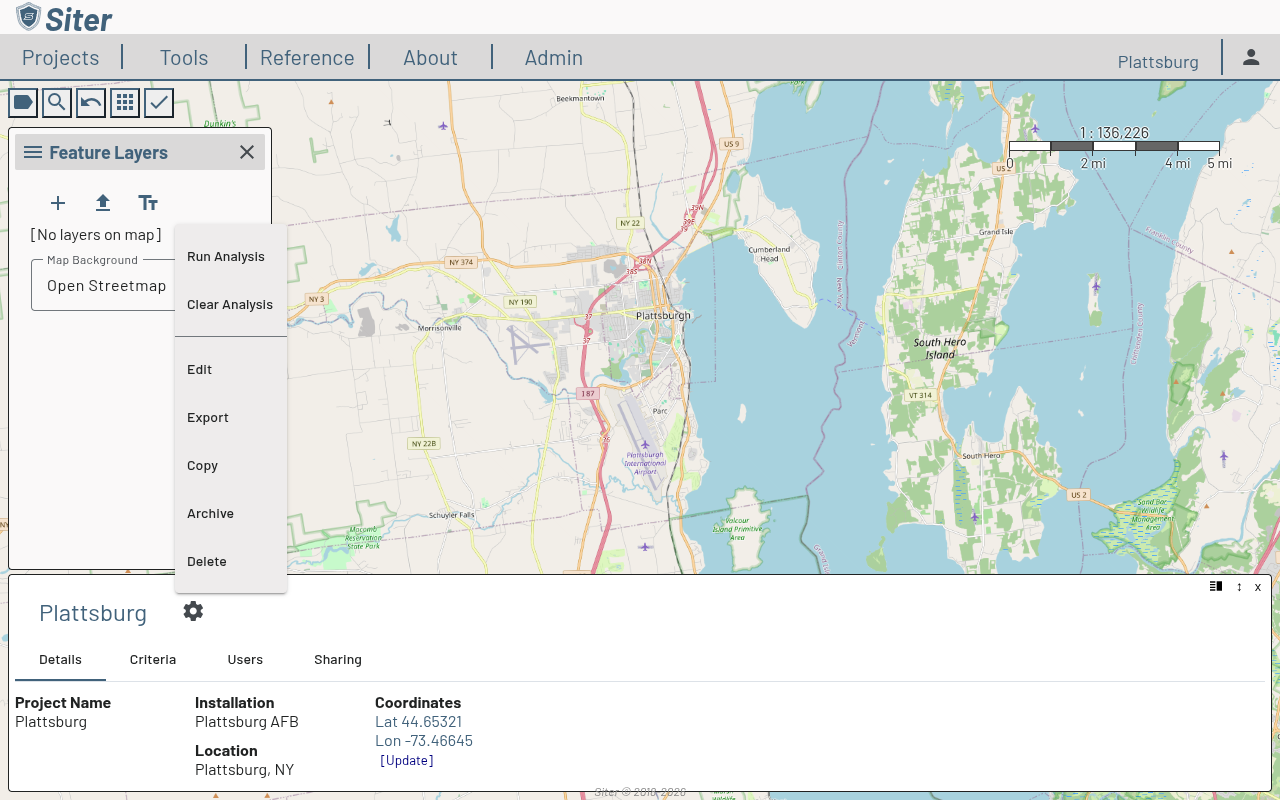
Click the settings gear icon next to the project name
-
Select Edit from the menu
-
Modify the project name, installation, location, or other settings
-
Save your changes
How to copy a project
- Open the project dashboard
- Click the settings gear icon and select Copy
- Siter creates a duplicate of the project with all its layers, features, and data
Copying a project is useful when you want to explore alternative configurations or create a variation of an existing evaluation without modifying the original.
How to archive a project
- Open the project dashboard
- Click the settings gear icon and select Archive
- The project moves to the archived list and no longer appears in My Projects
To restore an archived project, click the settings gear on the My Projects panel and select Restore.
How to delete a project
- Open the project dashboard
- Click the settings gear icon and select Delete
- Confirm the deletion when prompted
Deleting a project permanently removes it and all associated data. This action cannot be undone. Consider archiving the project instead if you may need it later.
How to import and restore projects
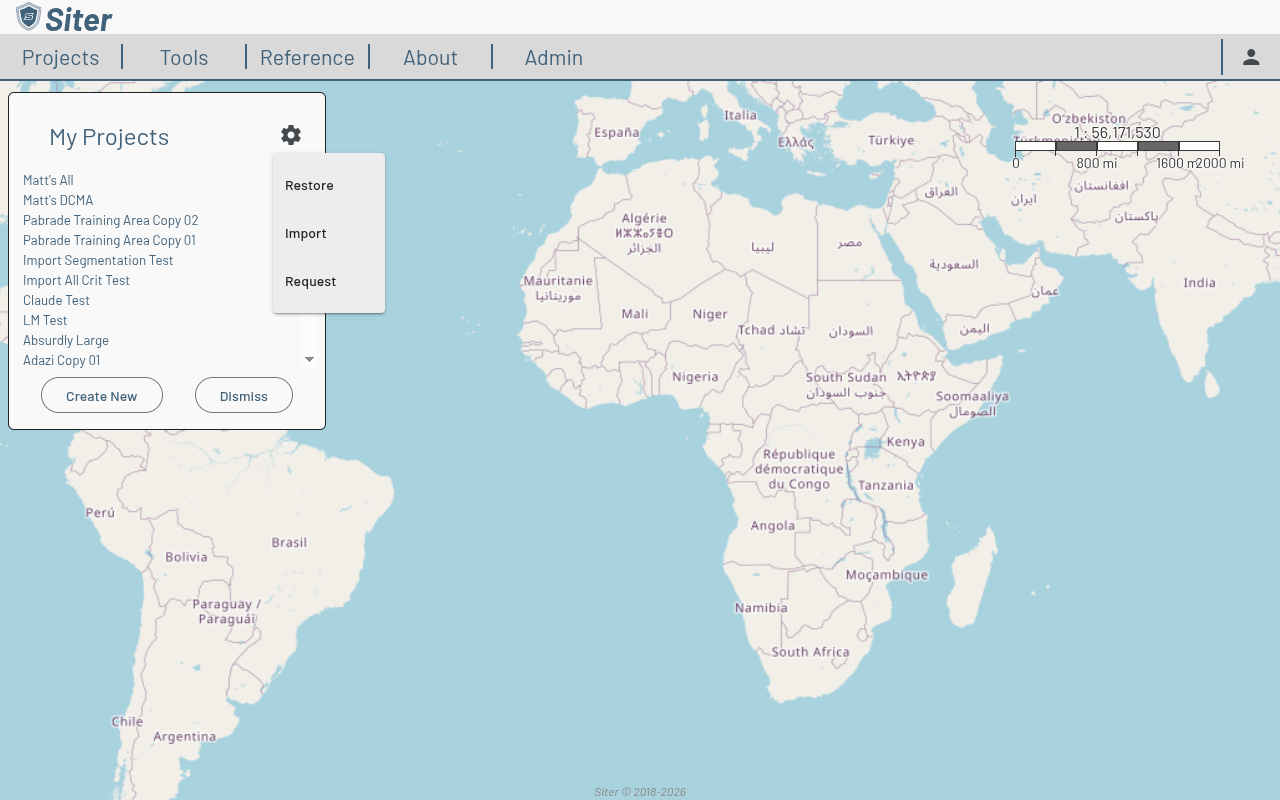
From the My Projects panel, click the settings gear to access:
- Import — load a previously exported project file (
.siter-snapshotor.siter-snapshot.json) - Restore — view and restore archived projects
- Request — request access to a shared project
Related features
- Sharing projects — share projects with other users and manage access requests
- Map view — navigate and interact with the project map
- Layers — add and manage map layers within a project
- Importing and exporting — export and import project data