Layers
Layers organize features on the map into logical groups. Each layer can contain multiple features and can be shown or hidden independently. Use layers to separate different types of facilities, reference data, or background information within a project.
Prerequisites
- You must have an open project (see Projects)
- You must have the Project Edit Permission or higher to create and modify layers
Layer types
When creating a layer, select a type:
- QD Visible — features on this layer are included in quantity-distance (QD) analysis calculations
- Background Layer — features on this layer are for reference only and are not included in analysis
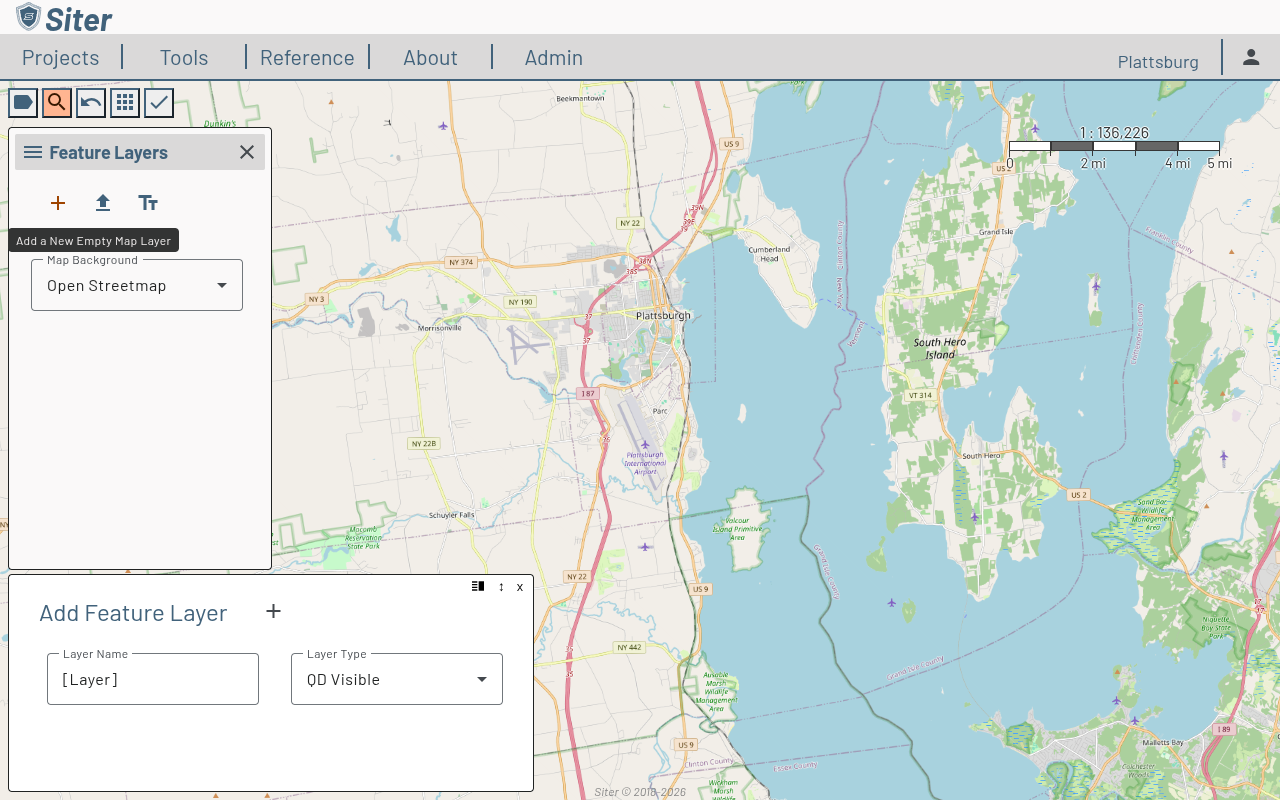
How to add a layer
-
In the Feature Layers sidebar, click the + (add) button
-
Enter a Layer Name
-
Select a Layer Type (QD Visible or Background Layer)
-
Click the + button next to the layer title to add it
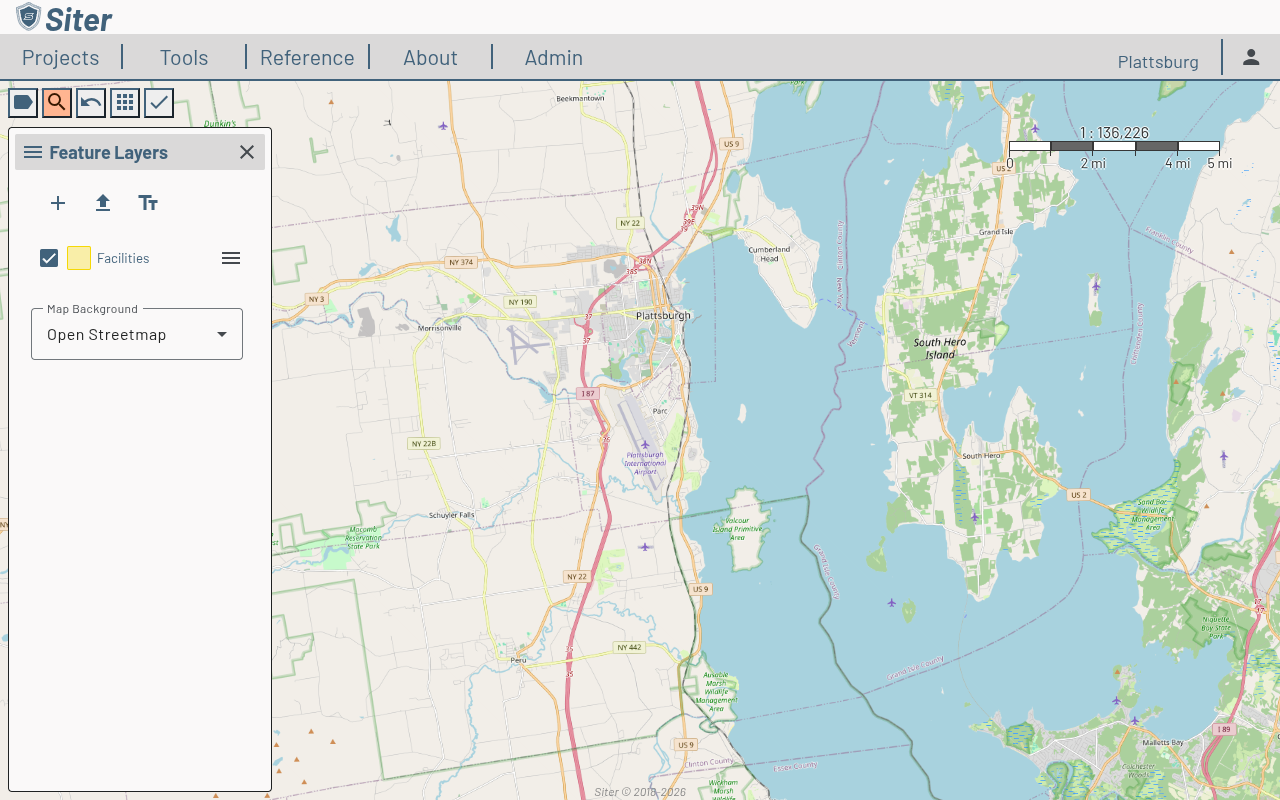
The new layer appears in the Feature Layers sidebar.
How to toggle layer visibility
Each layer in the sidebar has a checkbox next to its name. Uncheck a layer to hide its features on the map. Check it again to make them visible.
How to change the base map
The base map is the raster imagery that sits beneath every layer in the project. Changing it is purely visual — it does not affect analysis.
-
In the Feature Layers sidebar, locate the Map Background dropdown at the bottom
-
Click the dropdown and select a base map
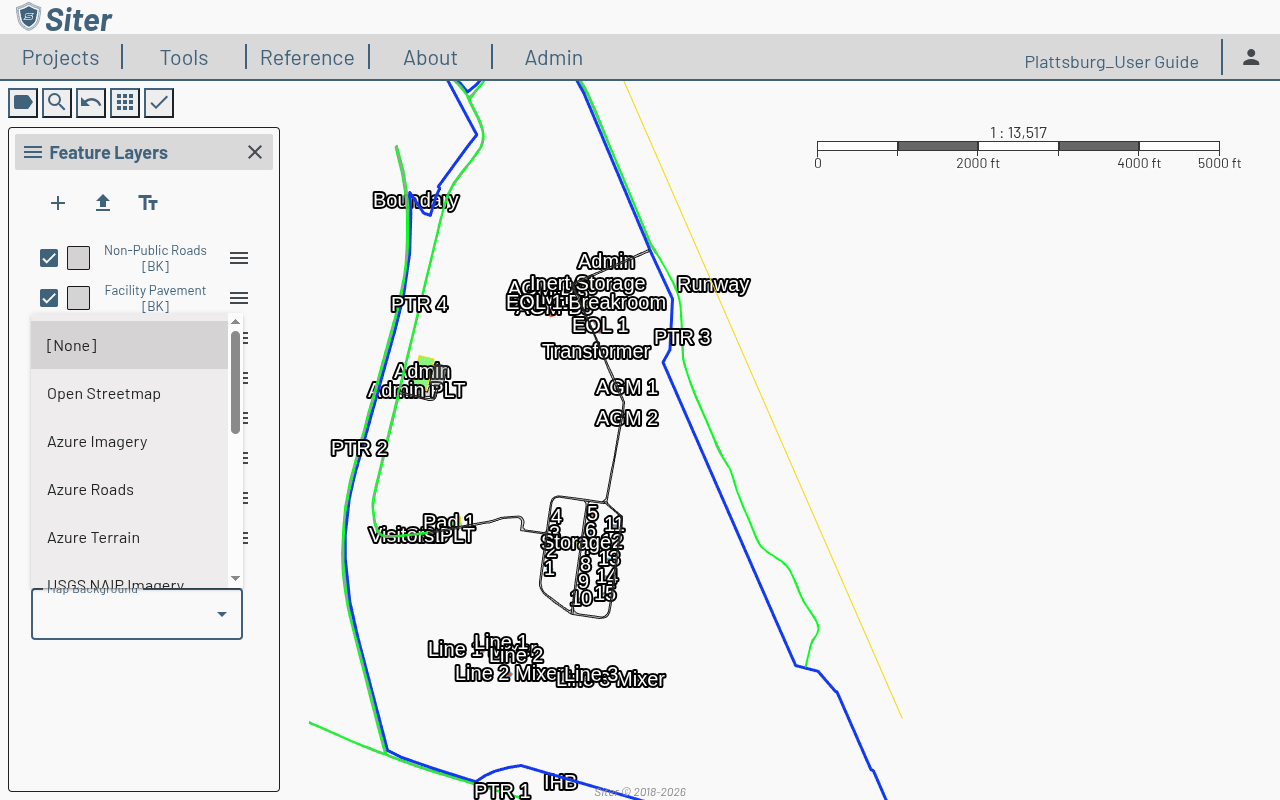
Available base maps include built-in sources and any custom or hosted imagery the project has been configured with:
- Open Streetmap — street-level detail with roads, buildings, and labels
- Azure Imagery / Roads / Terrain — Microsoft Azure map tiles
- USGS NAIP Imagery — US aerial photography from NAIP
- Google Roads / Satellite — Google Maps tiles
- Custom imagery — XYZ, WMS, ArcGIS REST, or GeoTIFF sources configured per project (see Custom and hosted imagery, added v0.22)
- Hosted imagery — GeoTIFF files uploaded to the Siter server, scoped to the customer (added v0.22)
- [None] — no background map
How to view layer features
Click the layer name in the Feature Layers sidebar to open a Feature List footbar showing every feature on that layer. See Features for the full feature list workflow.
How to manage a layer
Click the menu icon (three horizontal lines) next to a layer name to access layer options:

- Sort — reorder features within the layer
- Export — export the layer data to an external file (see How to export a layer below)
- Rename Layer — change the layer name
- Remove Layer — delete the layer and all its features from the project
To change the text or styling of a layer's labels, see Feature labels.
How to import a layer
- In the Feature Layers sidebar, click the upload icon (arrow pointing up)
- Select a file to import — supported formats include shapefiles (
.shpwith associated files) and GeoJSON
To import .shp files, the .shp file and its supporting files need to be compressed into a .zip file.
-
The Import Layer panel opens with the file loaded. Set the import options on the Details tab

- Layer Name — defaults to the file name; change it if you want a different layer name
- Layer Type — QD Visible (included in analysis) or Background Layer (reference only). See Layer types above
- Feature Labels — optionally choose a column from the imported table data to apply as the imported features' facility name
- Default Feature Types — for each criteria the project uses (e.g., DCMA Type), the facility type assigned to every imported feature (e.g., IBD General). You can adjust individual feature types afterward on each feature's Details tab
-
Click the Features tab to preview every feature in the file alongside its source attributes. The Errors column flags any feature that cannot be imported, so you can catch problems before committing
-
Click the save icon in the panel header to import the layer
You can also start an import from the toolbar Apps menu by selecting Import.
You can use the Features tab of the import window to view the imported layer table data.
Siter reads the coordinate system from the source file (the shapefile's .prj or the GeoJSON's CRS) and reprojects the features into the project's spatial reference automatically. But, not all coordinate systems are supported. For best results use incoming data projected in EPSG: 4326 (WGS84) or the WGS84 UTM Zone the project is in.
If the shapes do not appear as a preview in the correct place, there is an issue with the projection.
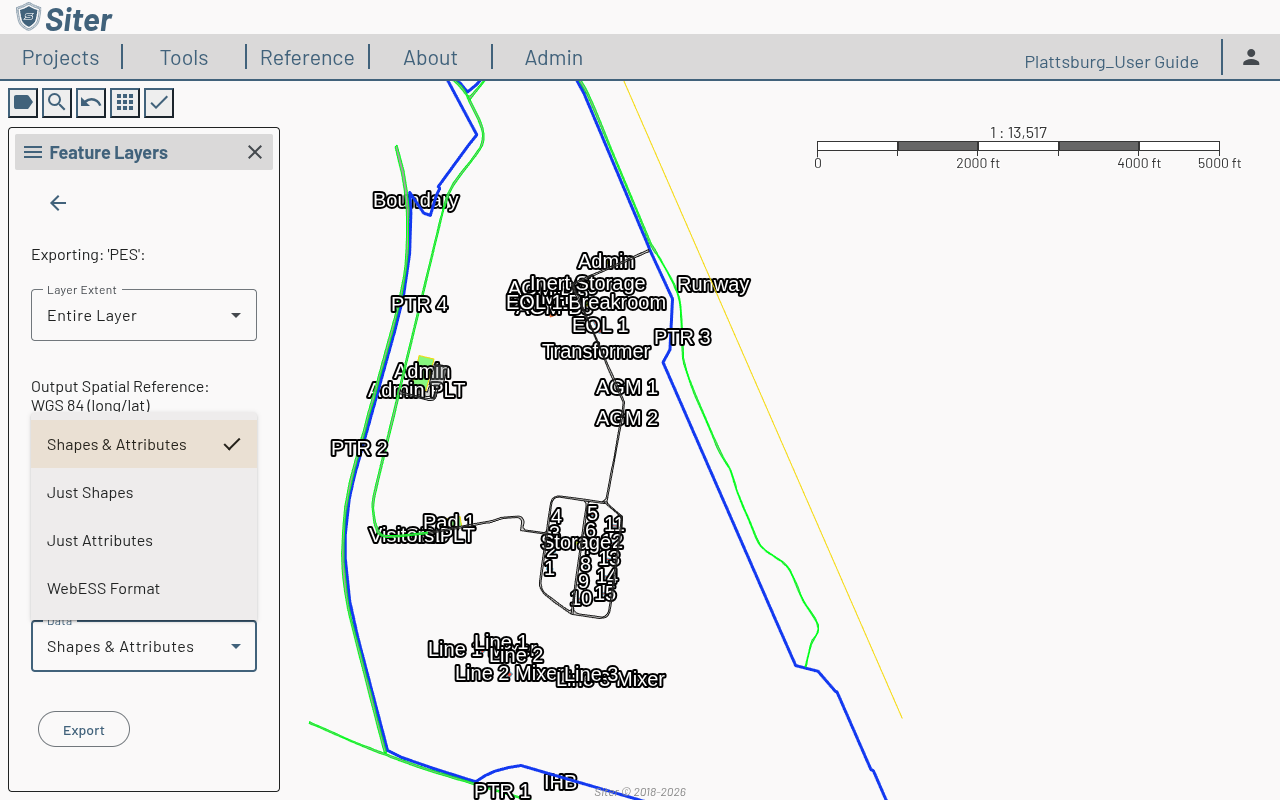
How to export a layer
-
In the Feature Layers sidebar, click the menu icon next to the layer name
-
Select Export — the export panel opens in the sidebar
-
Set the export options:
- Layer Extent — Entire Layer or only what is in the current map view
- Spatial Reference — Geographic (WGS 84 long/lat) or Projected (the project's coordinate system)
- Export To — File Download or Clipboard
- Data — what to include:
- Shapes & Attributes — geometry plus all feature properties
- Just Shapes — geometry only
- Just Attributes — a flat table of attributes, no geometry
- WebESS Format — a WGS84 export that automatically adds the WebESS's required
FACILITYNUMBER,FEATURENAME, andFEATUREDESCRIPTION, andFACILITYNUMBERcolumns.FACILITYNUMBERis made unique across all selected layers by appending-2,-3, … to colliding or empty names. (Added v0.22.)
-
Click Export
Related topics
- Feature labels — set the text and styling of map labels
- Map view — navigate and interact with the project map
- Features — add and edit features within a layer
- Projects — exporting and importing whole projects