Sharing projects
Siter allows project owners to share projects with other users through share tokens. A share token is a short code that you send to colleagues, who then use it to request access to your project. You review and approve or reject each request, controlling who can see your data and at what permission level.
Prerequisites
- You must have the Project Administration Permission on the project to manage sharing
- Users requesting access must have a Siter account
How to share a project
-
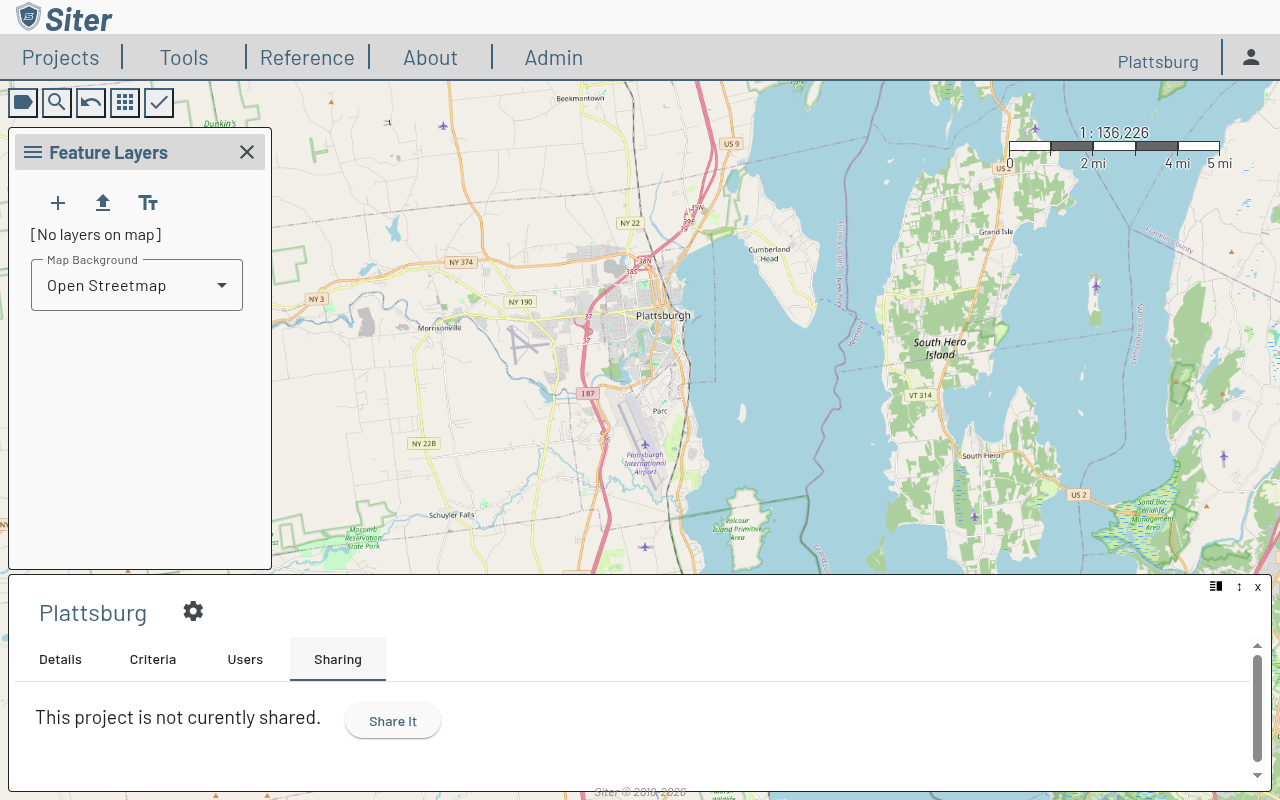
Open the project and click the project name in the upper-right corner to open the project dashboard
-
Click the Sharing tab
-
Click Share It
-
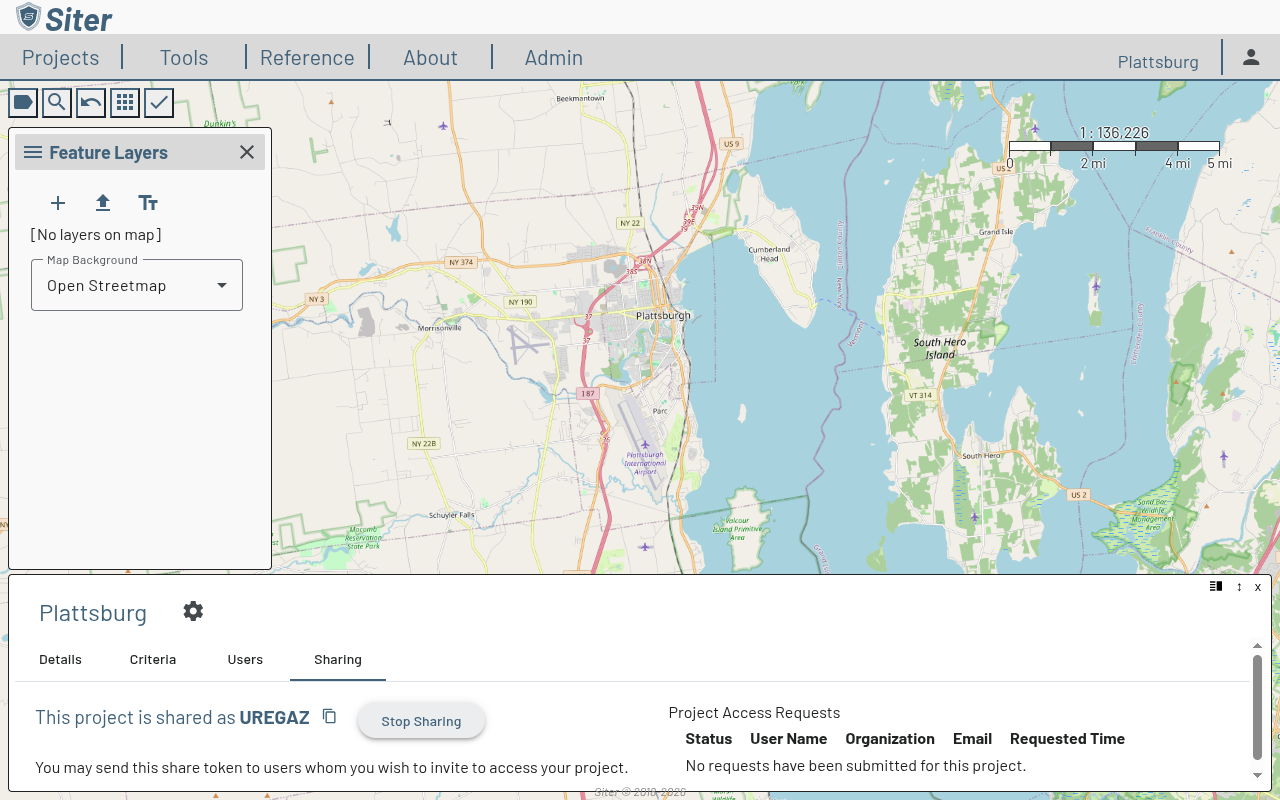
Siter generates a share token (e.g., UREGAZ) and displays it on the Sharing tab
-
Click the copy icon next to the token to copy it to your clipboard
-
Send the token to the users you want to invite
Share tokens expire automatically. The recipient will need to request and then you will need to approve the request before the code expires. The expiration date is displayed below the token. Generate a new token if the current one has expired.
How to stop sharing a project
- Open the project dashboard and click the Sharing tab
- Click Stop Sharing
- The share token is invalidated and no new access requests can be made with it
How to request access to a shared project
-
Click Projects in the top navigation bar
-
Click the settings gear on the My Projects panel and select Request
-
In the Request a Project panel, enter the 6-character invite code the project owner gave you
-
Click Submit

Your request appears in the Active/Previous Requests list with a status of Open until the owner responds. The project owner reviews and approves or rejects it from the project's Sharing tab.
How to manage access requests
-
Open the project dashboard and click the Sharing tab
-
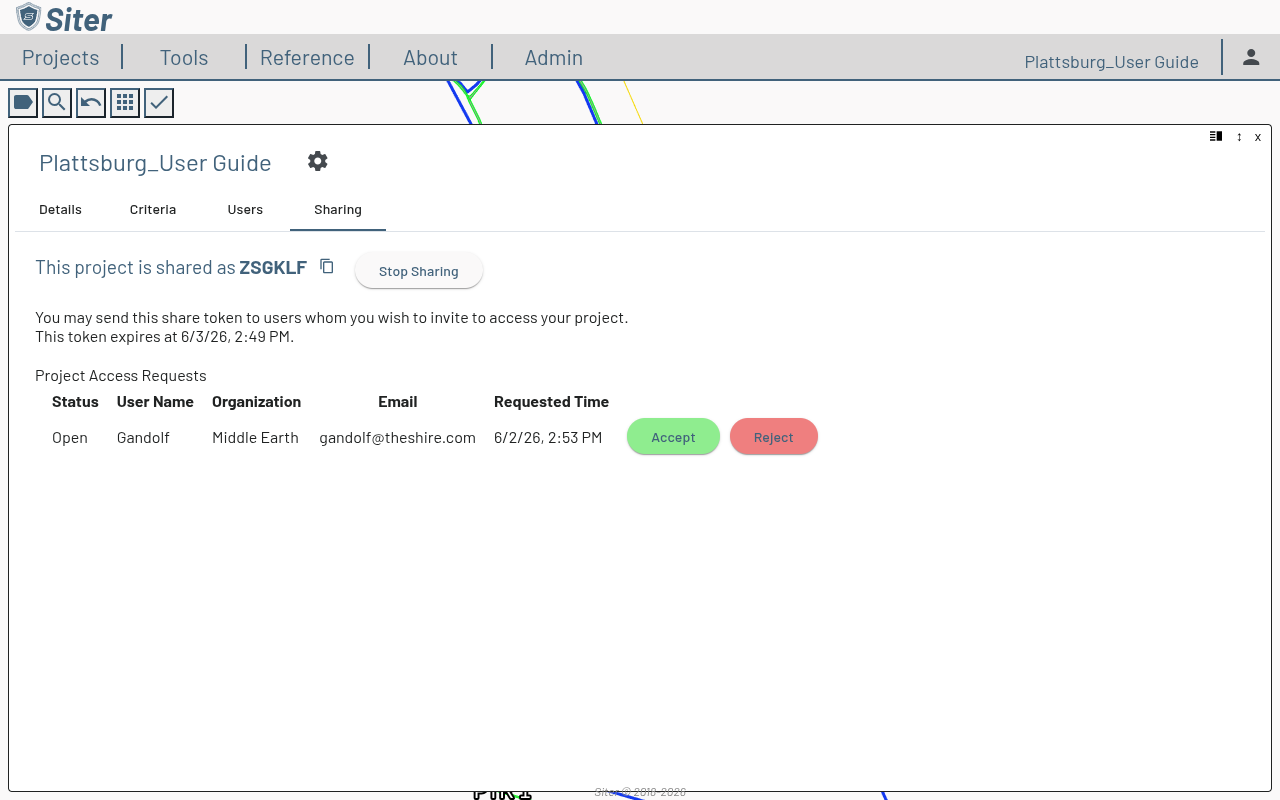
The Project Access Requests table lists each request with its Status and the requester's User Name, Organization, Email, and Requested Time
-
Click Reject to deny the request, or Accept to approve it and assign a project role
-
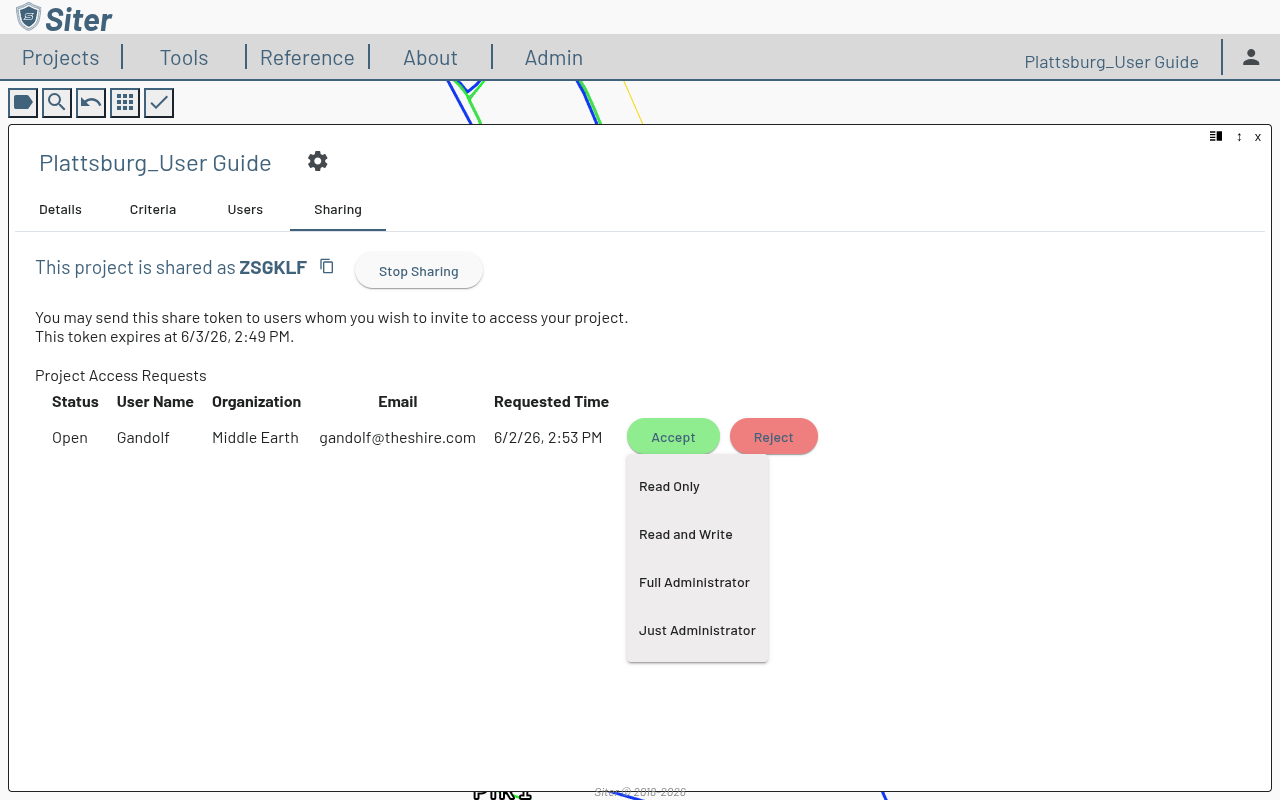
When you click Accept, choose the role to grant:
- Read Only — can view the project and its data but cannot make changes
- Read and Write — can view and edit project features and layers, but not share, copy, or export the project
- Full Administrator — read and write plus full project control, including managing users and sharing
- Just Administrator — administrative control (users and sharing) without read or write access to the project data
How to view project users
- Open the project dashboard and click the Users tab
- The table shows each user's name, project role, and when they last opened the project