Measurements
The Markup sidebar lets you measure distances and areas directly on the map and draw buffer zones around facilities. Use it to verify separations between features, check dimensions, or sketch buffer rings without creating permanent features. Markup is saved with the project and can be toggled on or off without deleting it.
Prerequisites
- You must have an open project
How to open the Markup sidebar
-
Click the menu icon in the left sidebar header to open the sidebar chooser
-
Select Markup
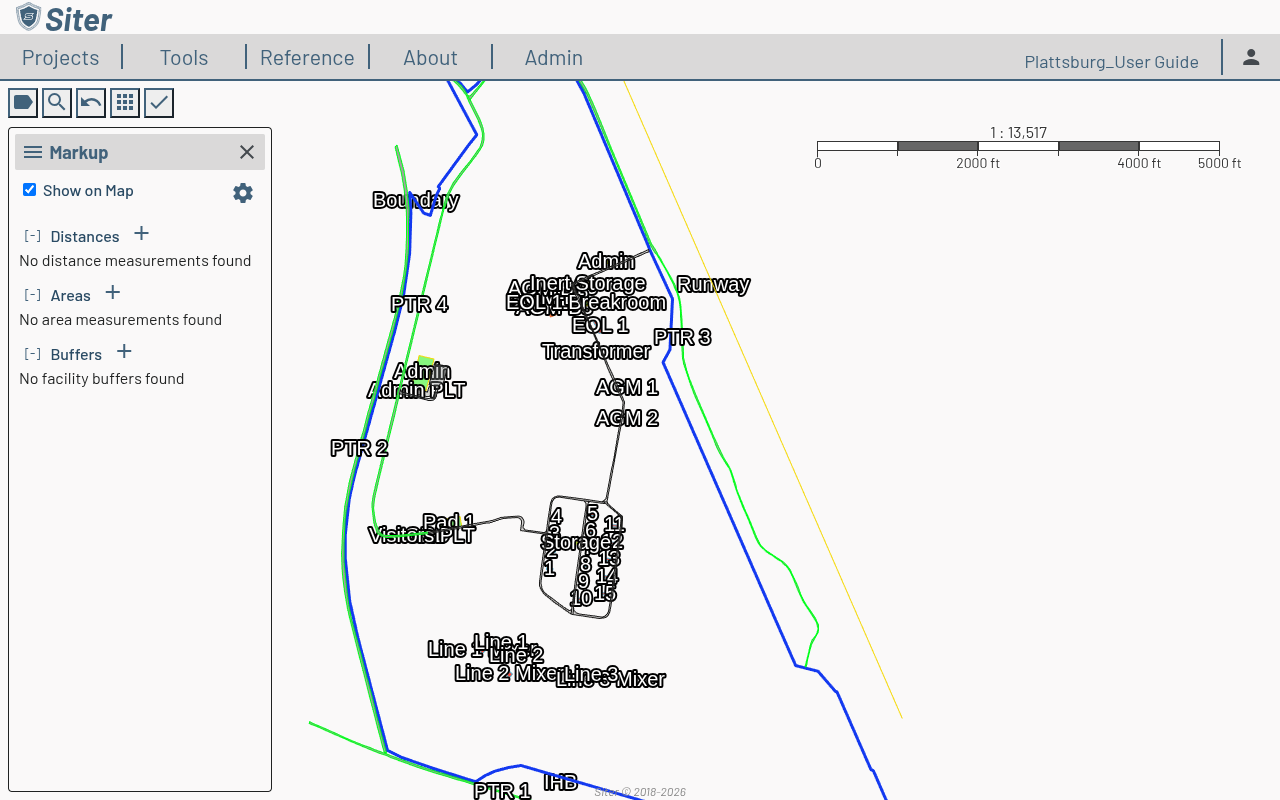
The sidebar groups markup into three categories:
- Distances — multi-point distance measurements along a path
- Areas — polygon area measurements
- Buffers — radial buffer rings around a facility
How to measure a distance
- Open the Markup sidebar
- Click the + next to Distances and choose a method:
- Digitize Simple Line — click two points on the map
- Digitize Polyline — click successive points along a path, then double-click the last point to finish
- Place Vector — enter precise values instead of drawing
- The measurement appears in the Distances list and stays visible on the map until you toggle it off
The Digitize methods let you draw on the map; Place lets you enter exact values.
How to measure an area
- Open the Markup sidebar
- Click the + next to Areas and choose a method:
- Digitize Polygon, Digitize Rectangle, or Digitize Circle — draw the shape on the map
- Place Rectangle or Place Circle — enter exact dimensions instead of drawing
- Finish the shape — for a digitized polygon, double-click to close it
The calculated area appears in the Areas list with the shape rendered on the map.
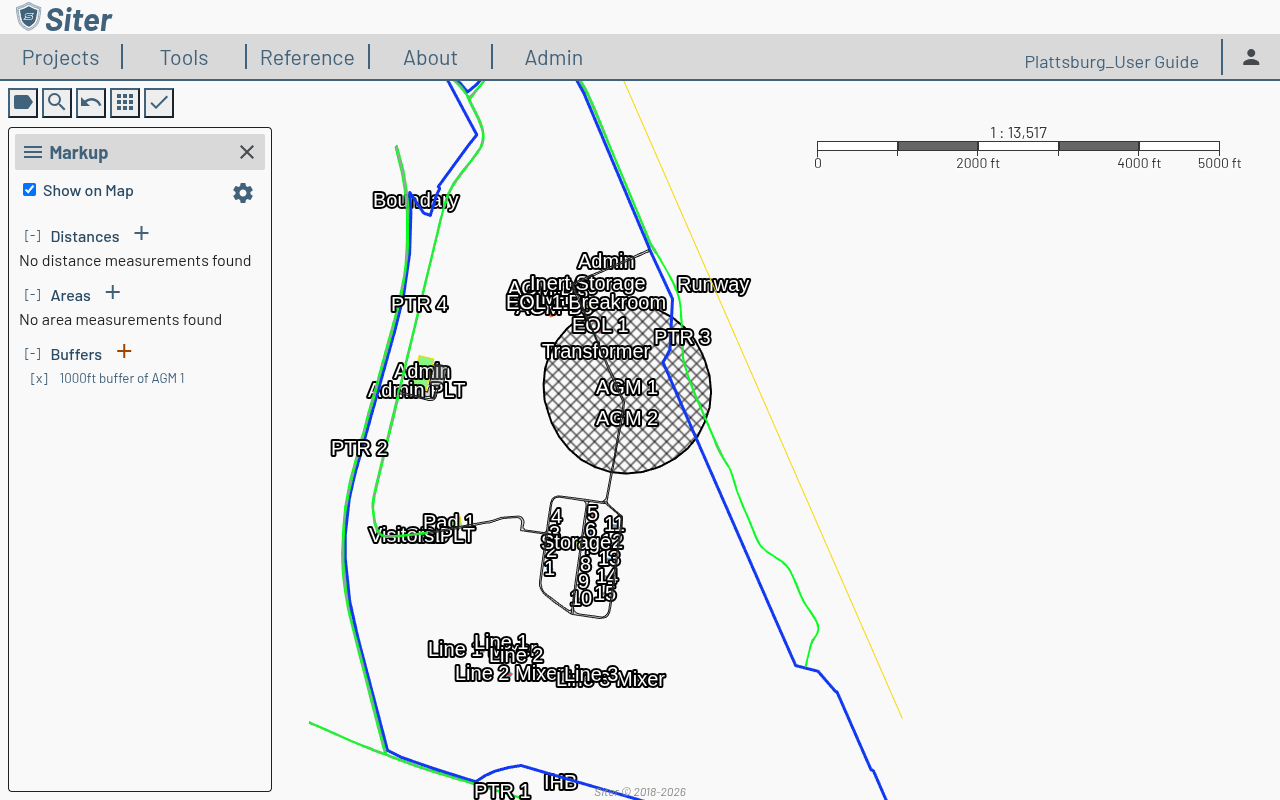
How to add a facility buffer
- Open the Markup sidebar
- Click the + next to Buffers
- Set the buffer radius (it defaults to 100 ft)
- Click the target facility on the map
Clicking "ft" next to the buffer input box will change the measurement to meters. Click "m" to return to "ft".
Buffers render as a ring at the chosen radius around the facility and are listed by name (for example, 1000ft buffer of AGM 1) in the Buffers section.
How to rename or restyle a buffer
Click the buffer's name in the Buffers list to open the Edit Measurement panel:
-
Edit the Name to rename the buffer
-
Under Symbol, choose Custom to override the default appearance, which reveals:
- Line Color & Opacity — the ring outline
- Fill Color & Opacity — the shaded interior
- Dashed Line — toggle a dashed outline
-
Click the save (floppy disk) icon to apply, or the restore icon to revert to the default symbol
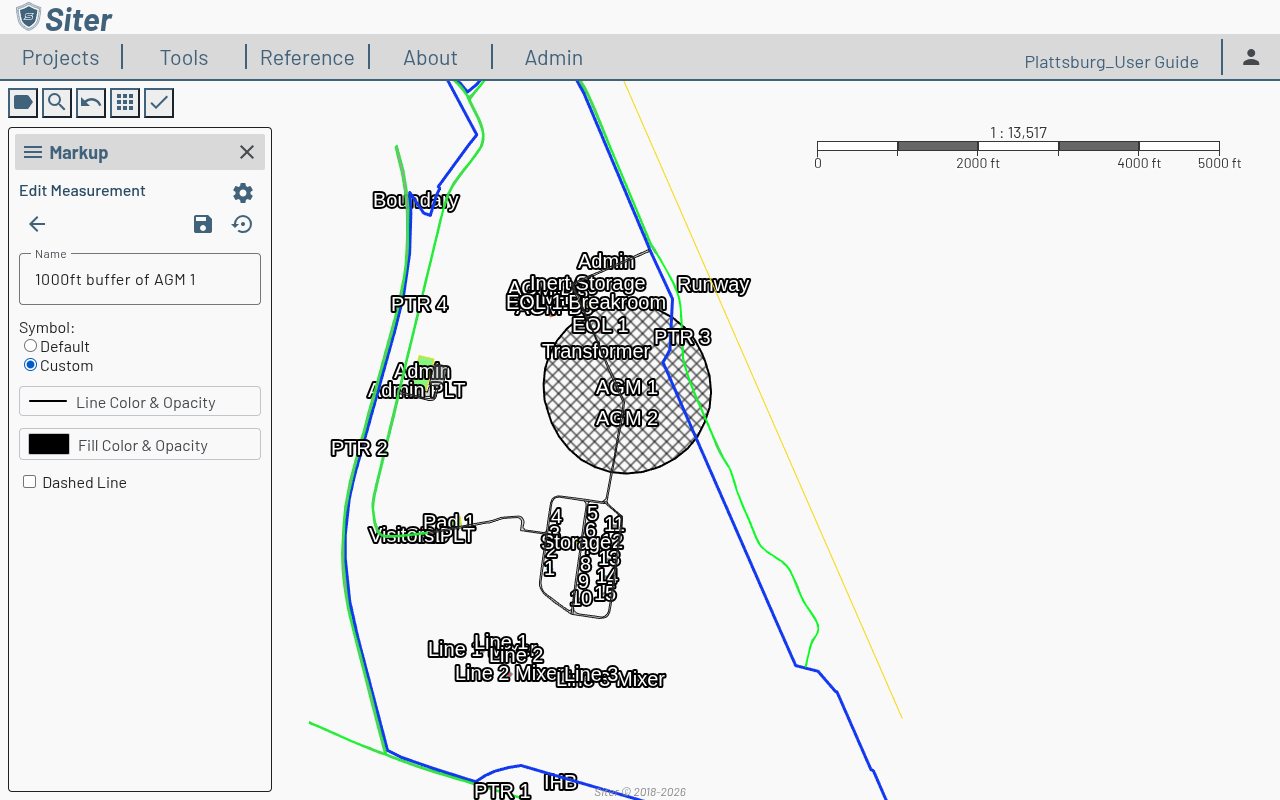
Clicking the name of any markup — a distance or area too — opens the same Edit Measurement panel; the available style options vary by shape (a line has no fill).
How to hide markup without deleting it
- Open the Markup sidebar
- Uncheck Show on Map at the top of the sidebar
All distances, areas, and buffers stay in the project but stop rendering on the map. Re-check the box to bring them back. Click the settings gear next to Show on Map to set the default visibility and styling for new markup.
Related topics
- Map view — navigating and interacting with the map
- Feature shapes — creating permanent features with defined geometry